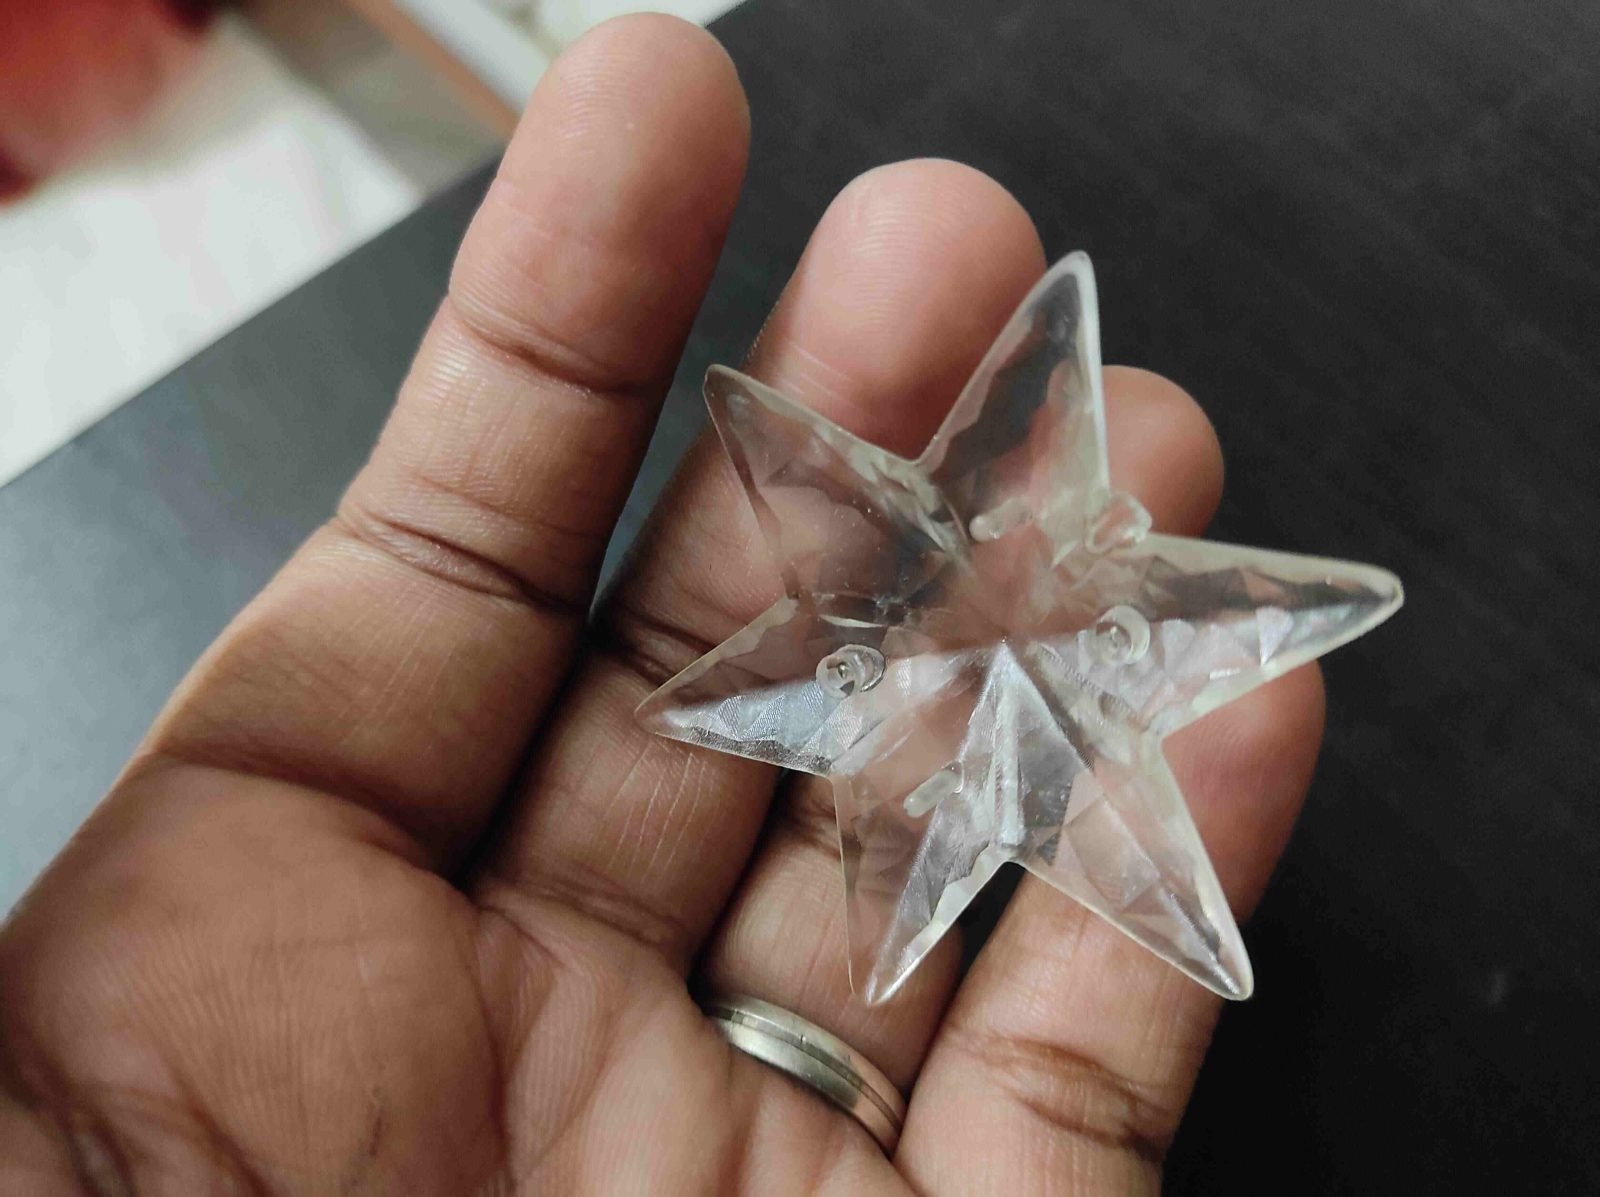
What it is
Clear parts with geometry you can’t machine into acrylic
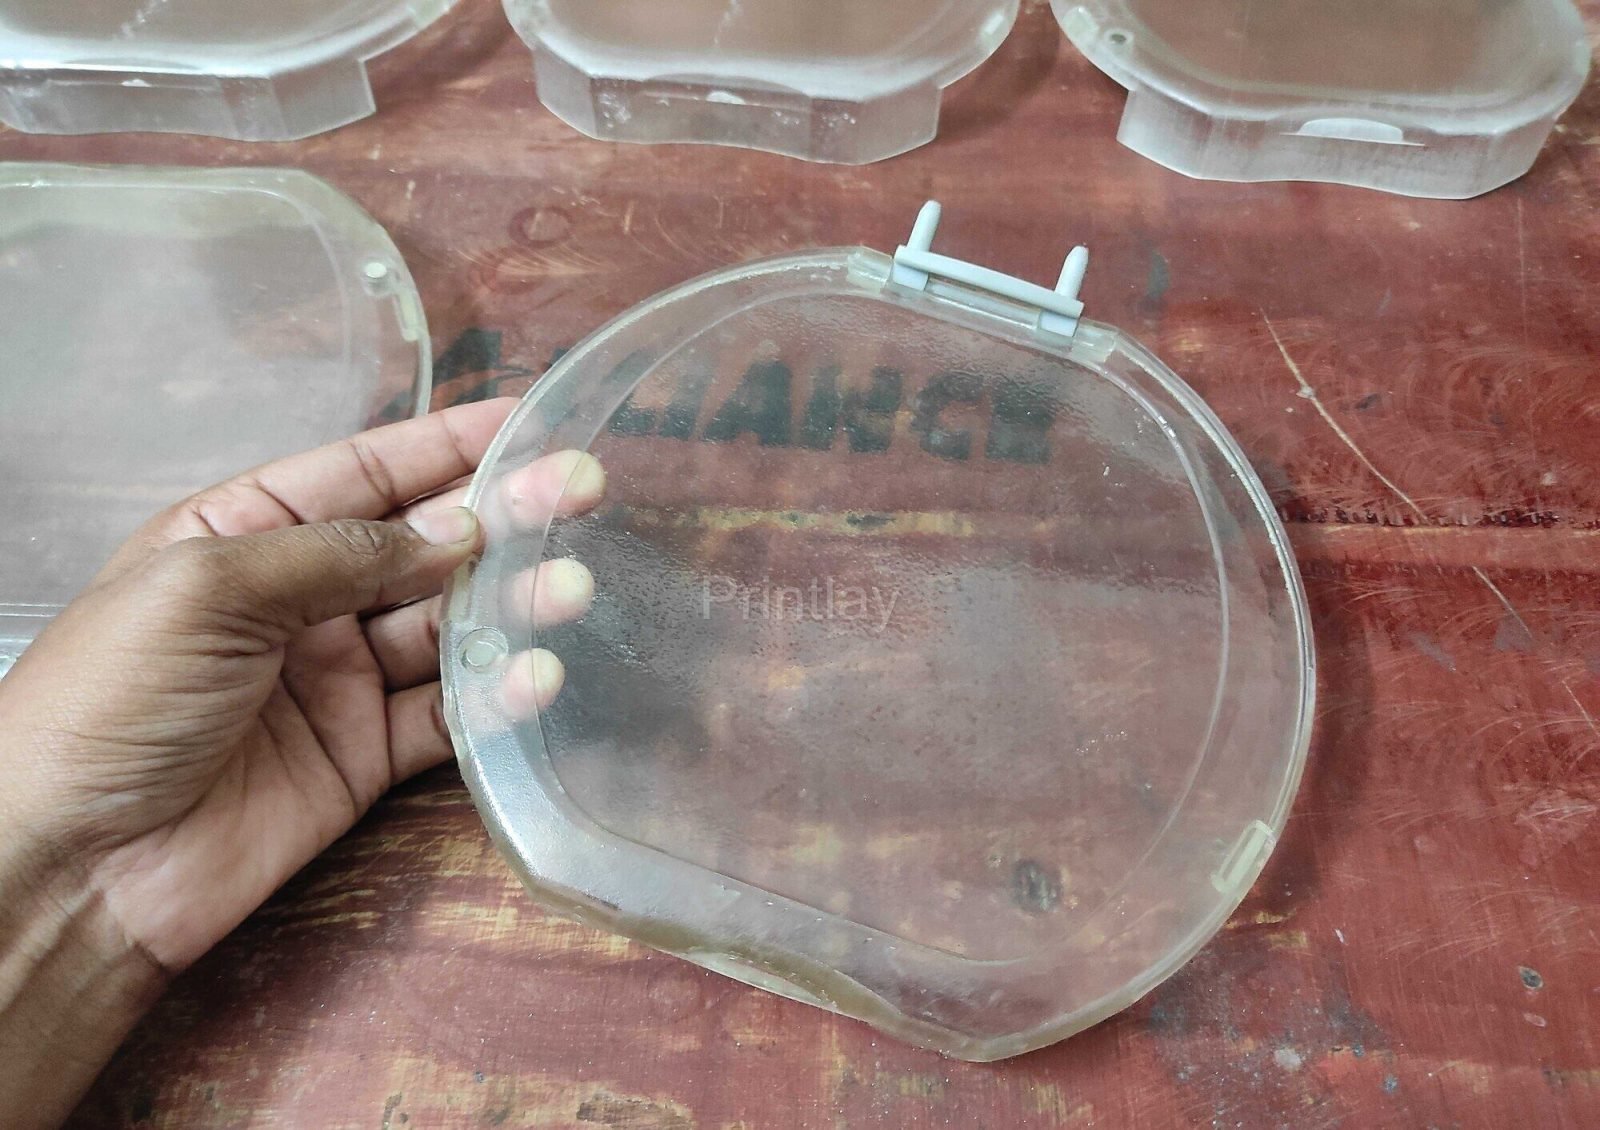
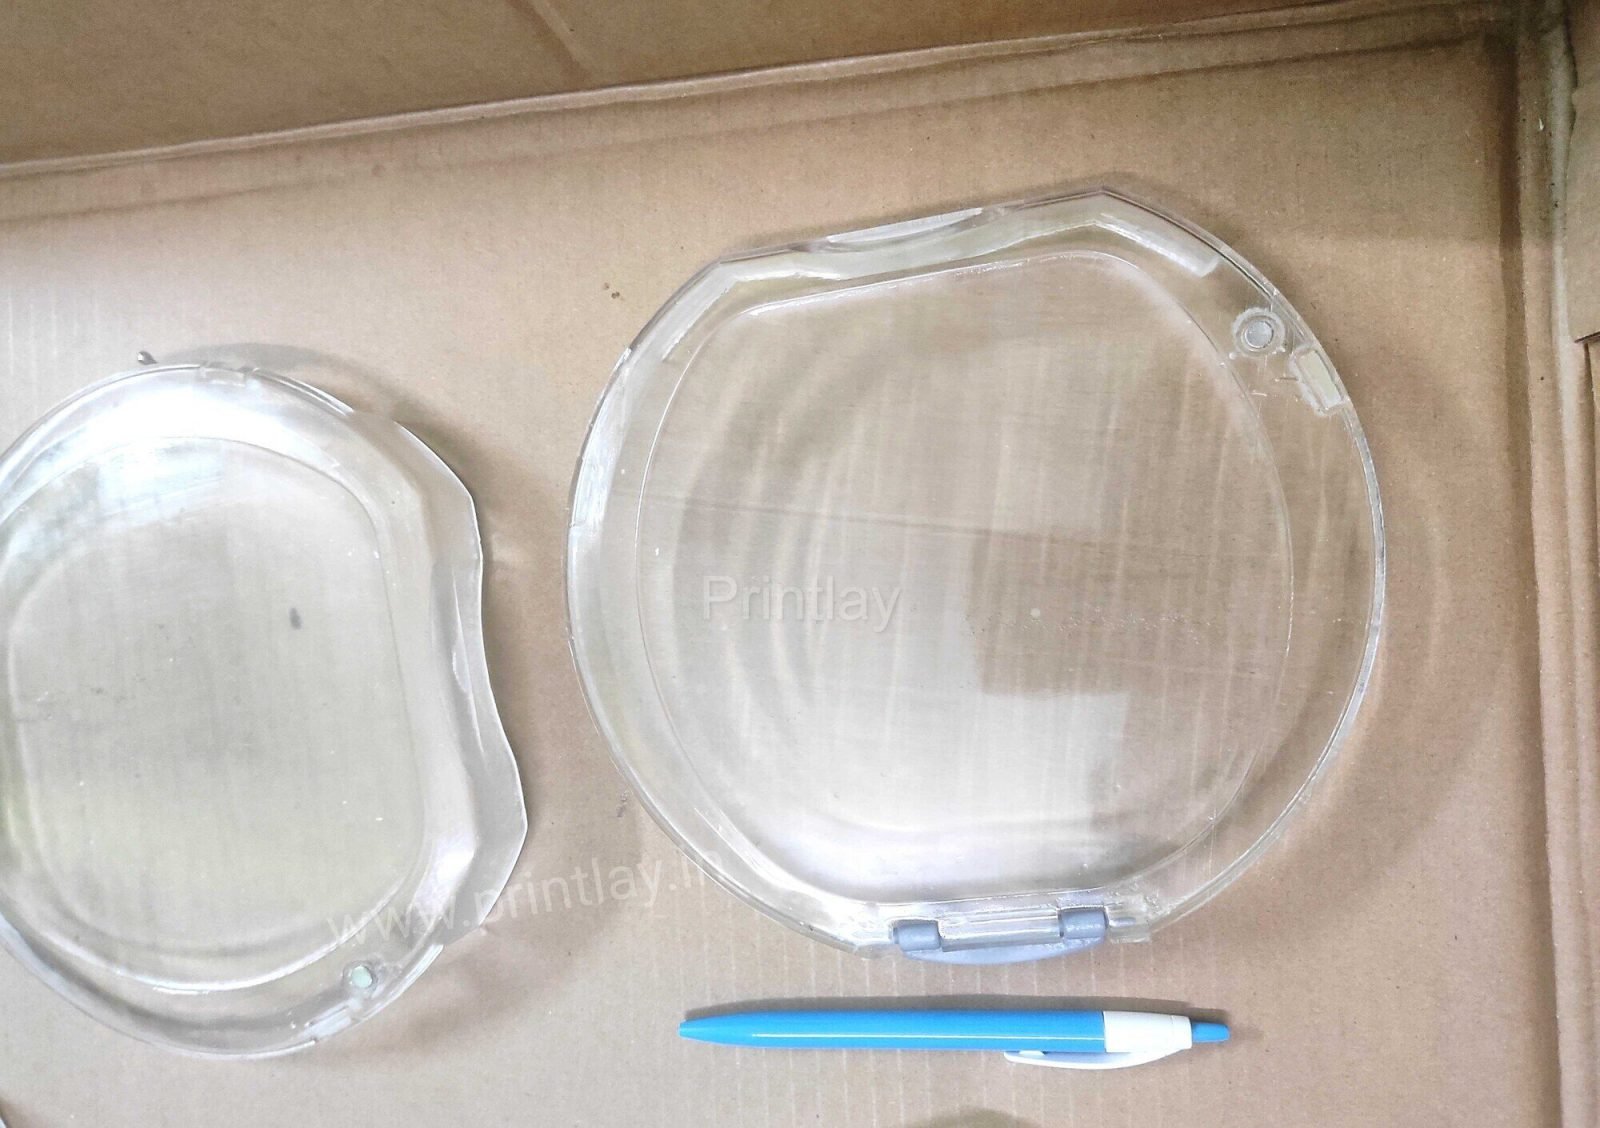
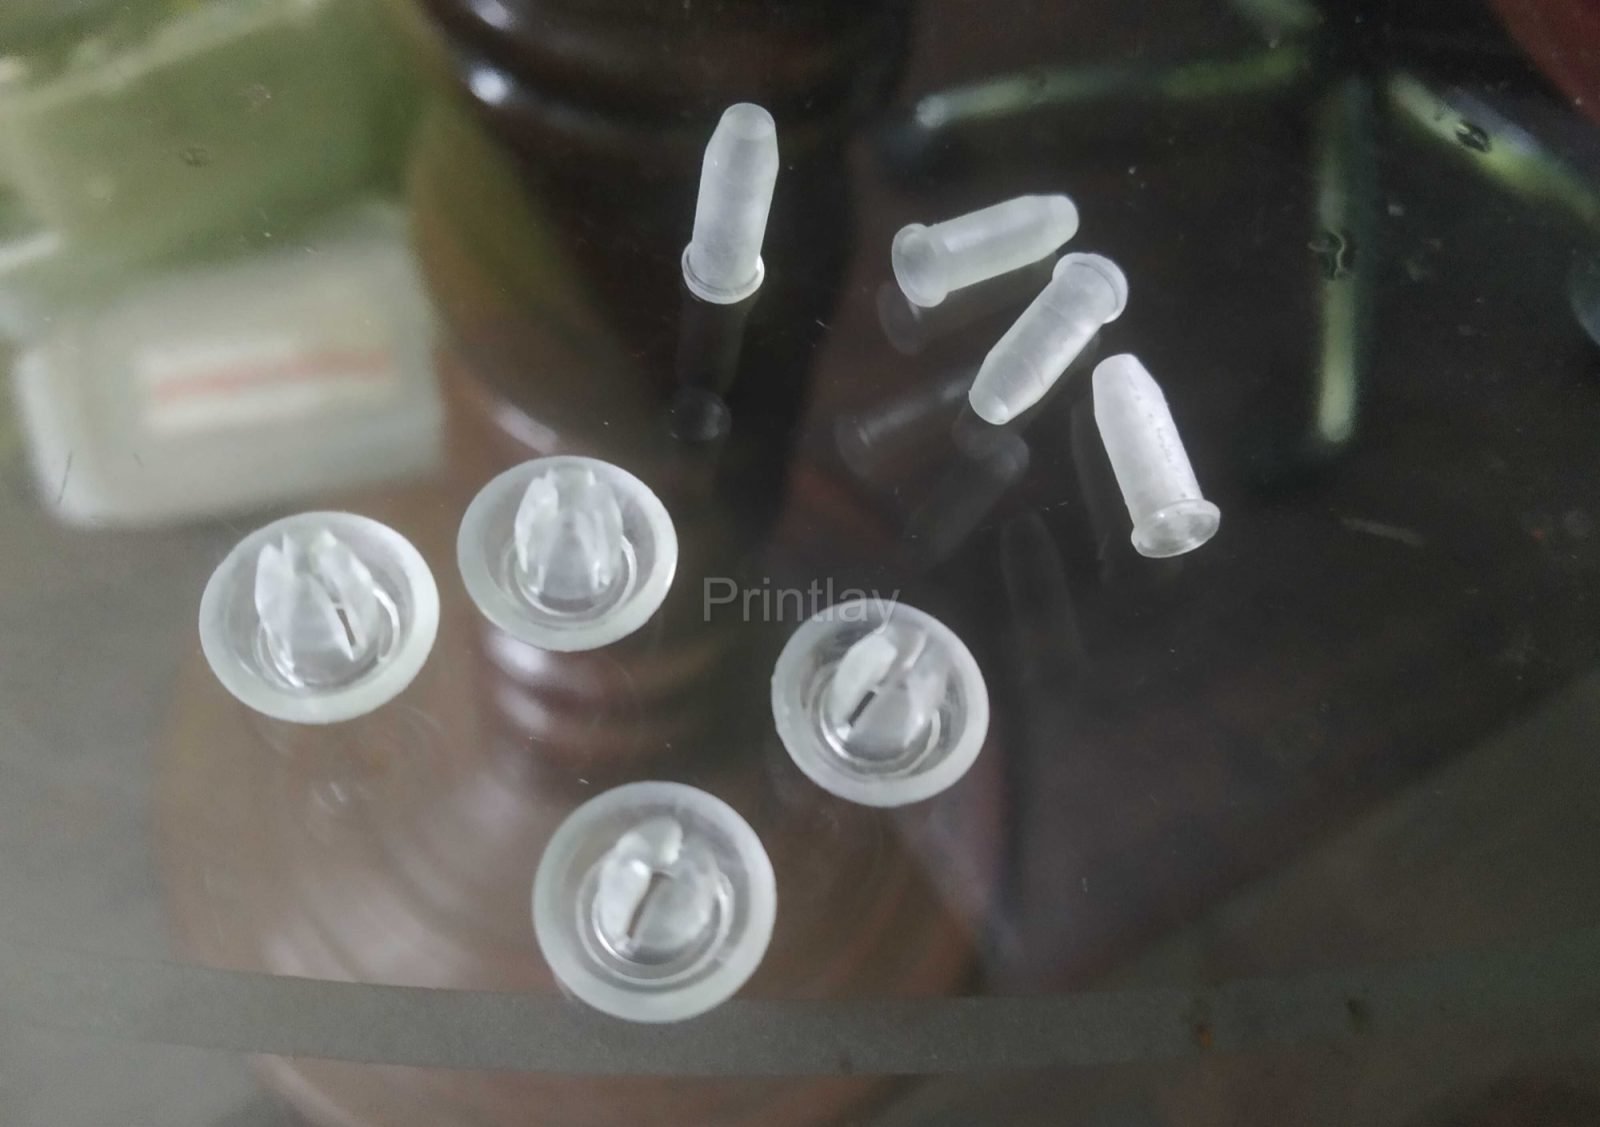
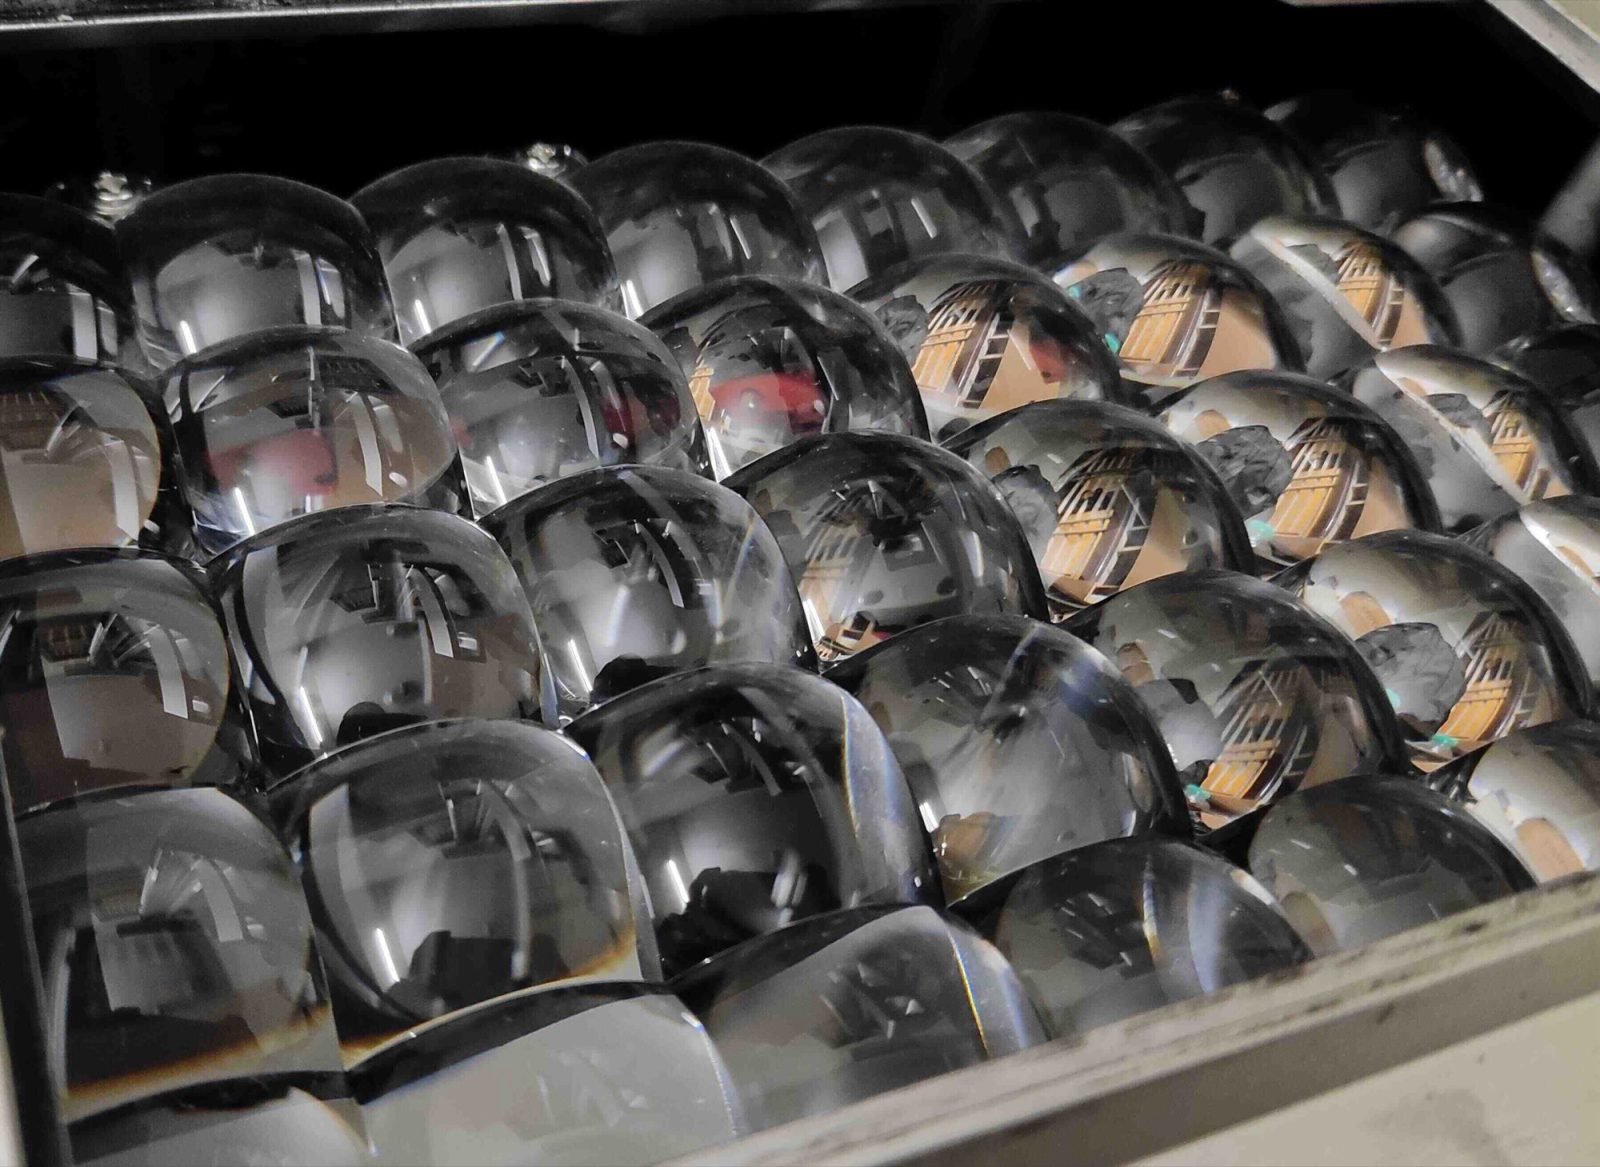
We 3D print in clear photopolymer resin and hand-finish the parts to high clarity. It is the fastest way to get see-through prototypes with curved surfaces, internal channels or complex features — no tooling, and no limits from milling a solid block of acrylic or glass.
- Read-through clarity after polishing or clear-coating.
- Internal fluidic channels and closed light guides are possible.
- Tinted and translucent-colour options.
- Parts up to ~300 mm; larger sizes bonded from sections.
Finish levels
How clear do you need it?
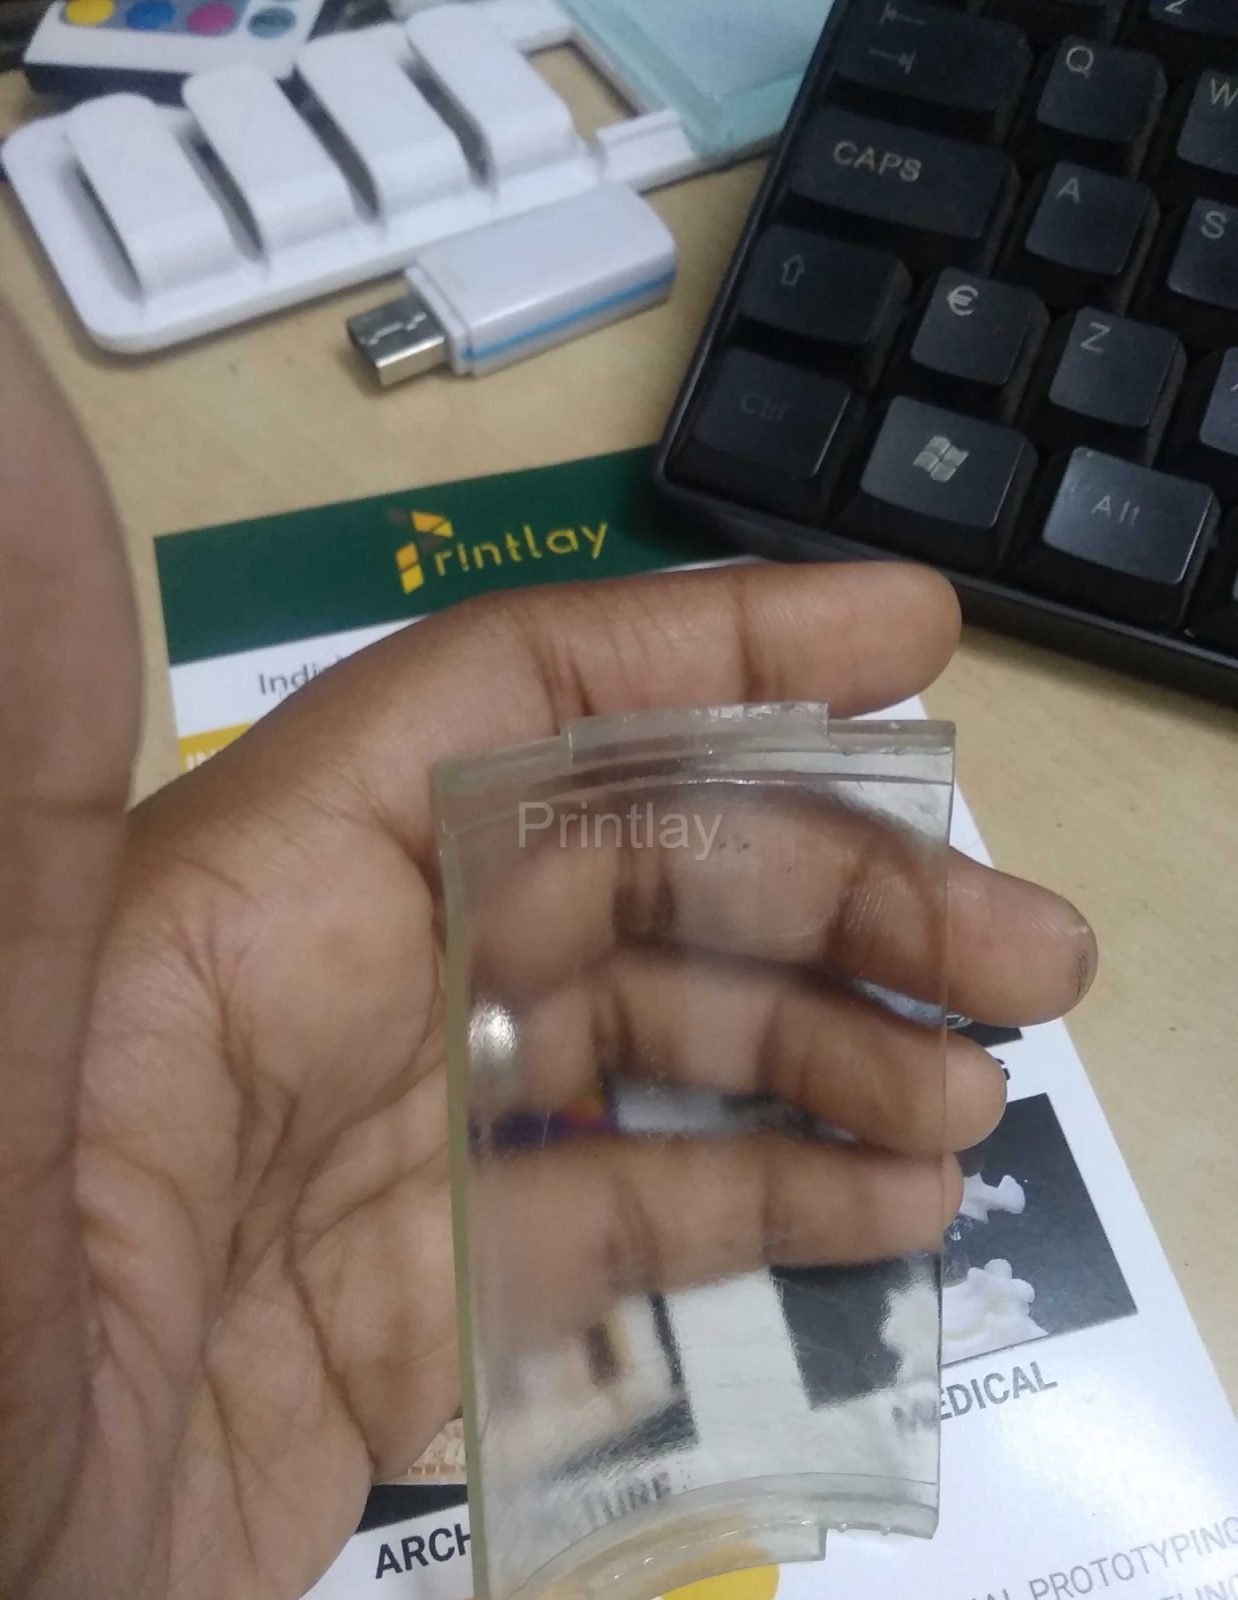
Clarity is built up in the finishing, not the printing. Choose the level that suits the part and budget.
As-printed
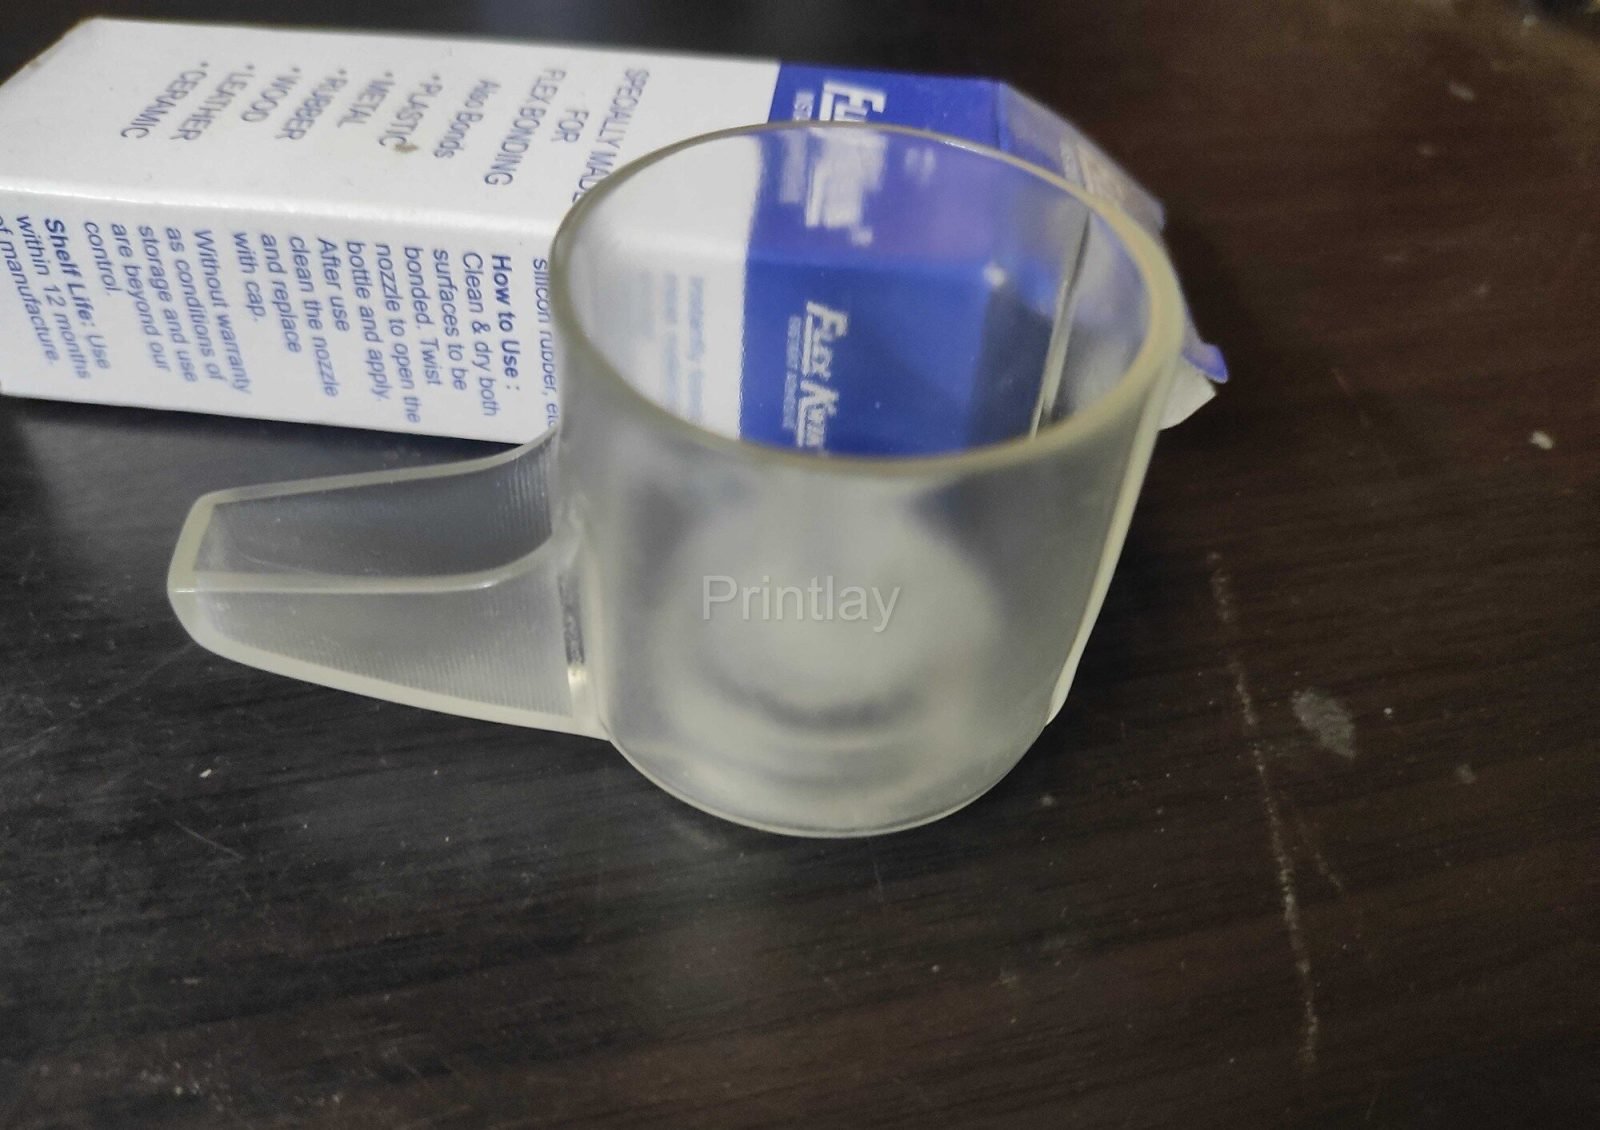
Translucent and frosted. Light passes through but you cannot see detail. Lowest cost.
Sanded matte
Progressively wet-sanded to an even, softly diffused surface — good for light diffusers.
Polished / clear-coated
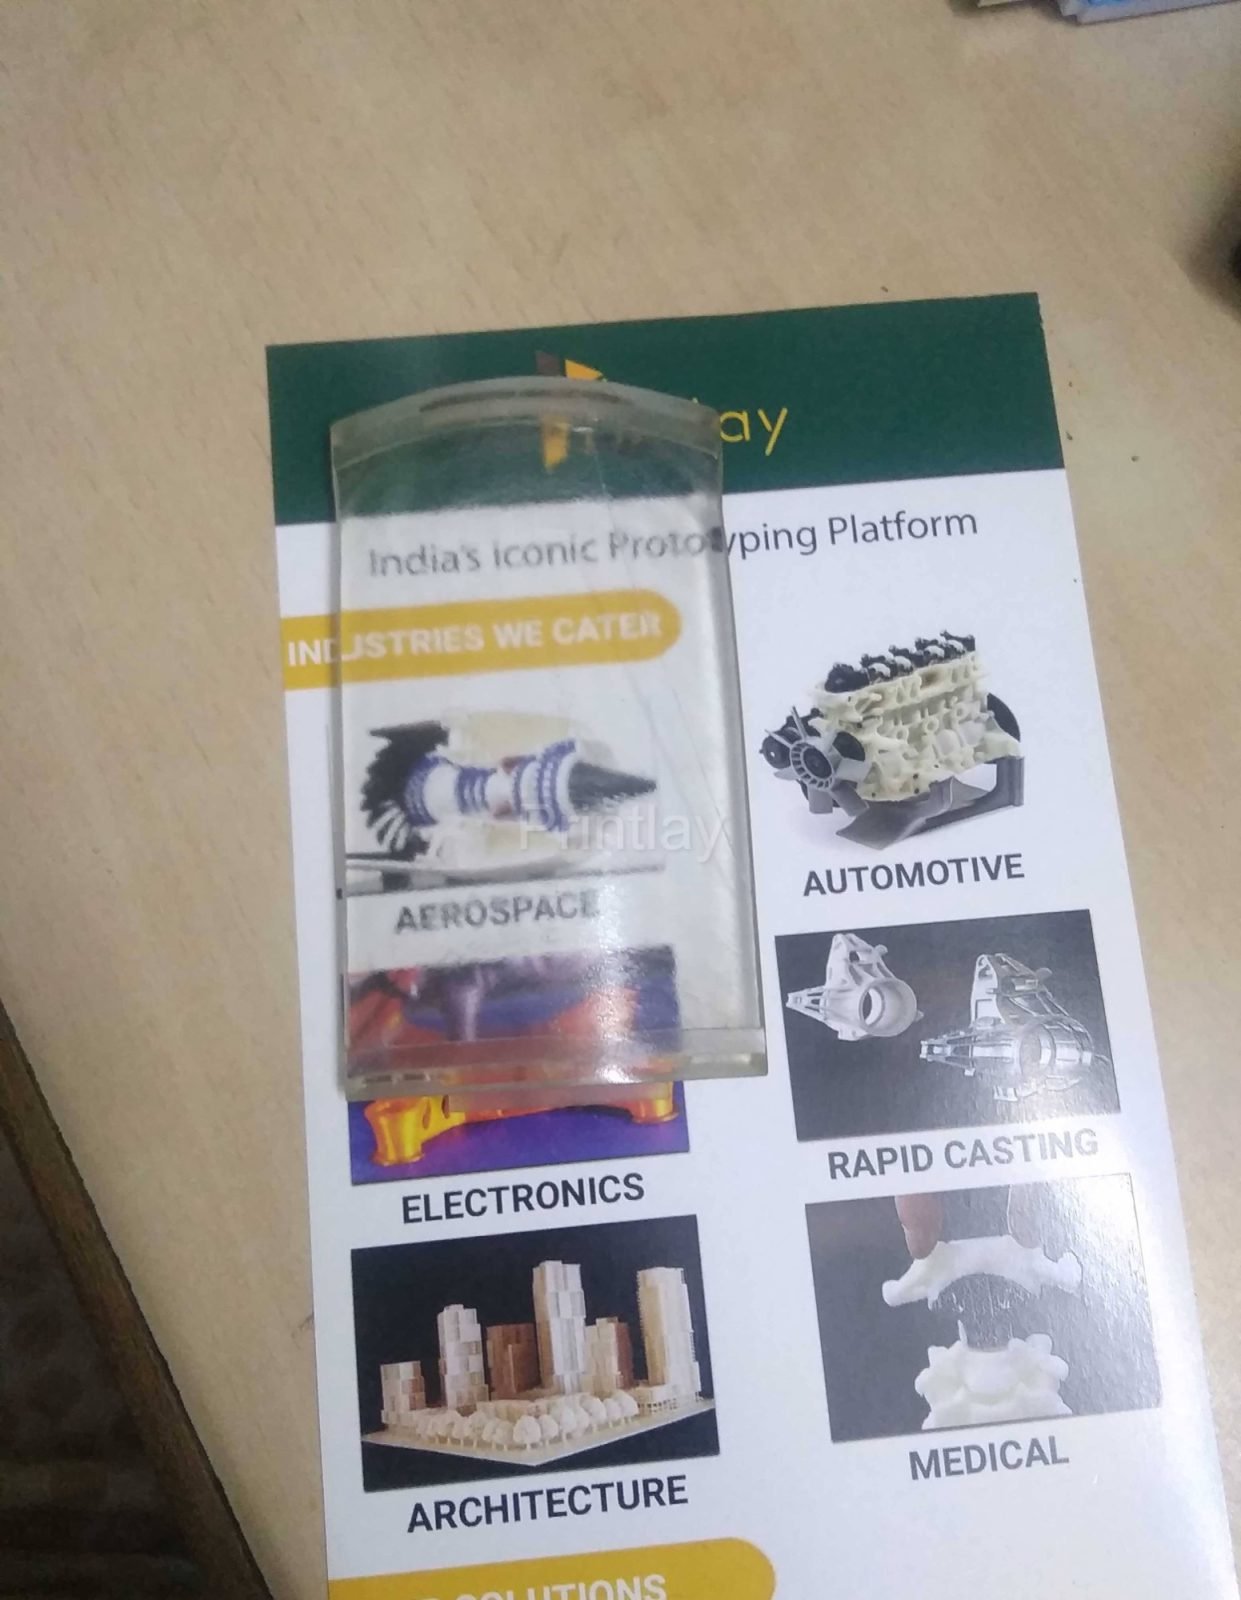
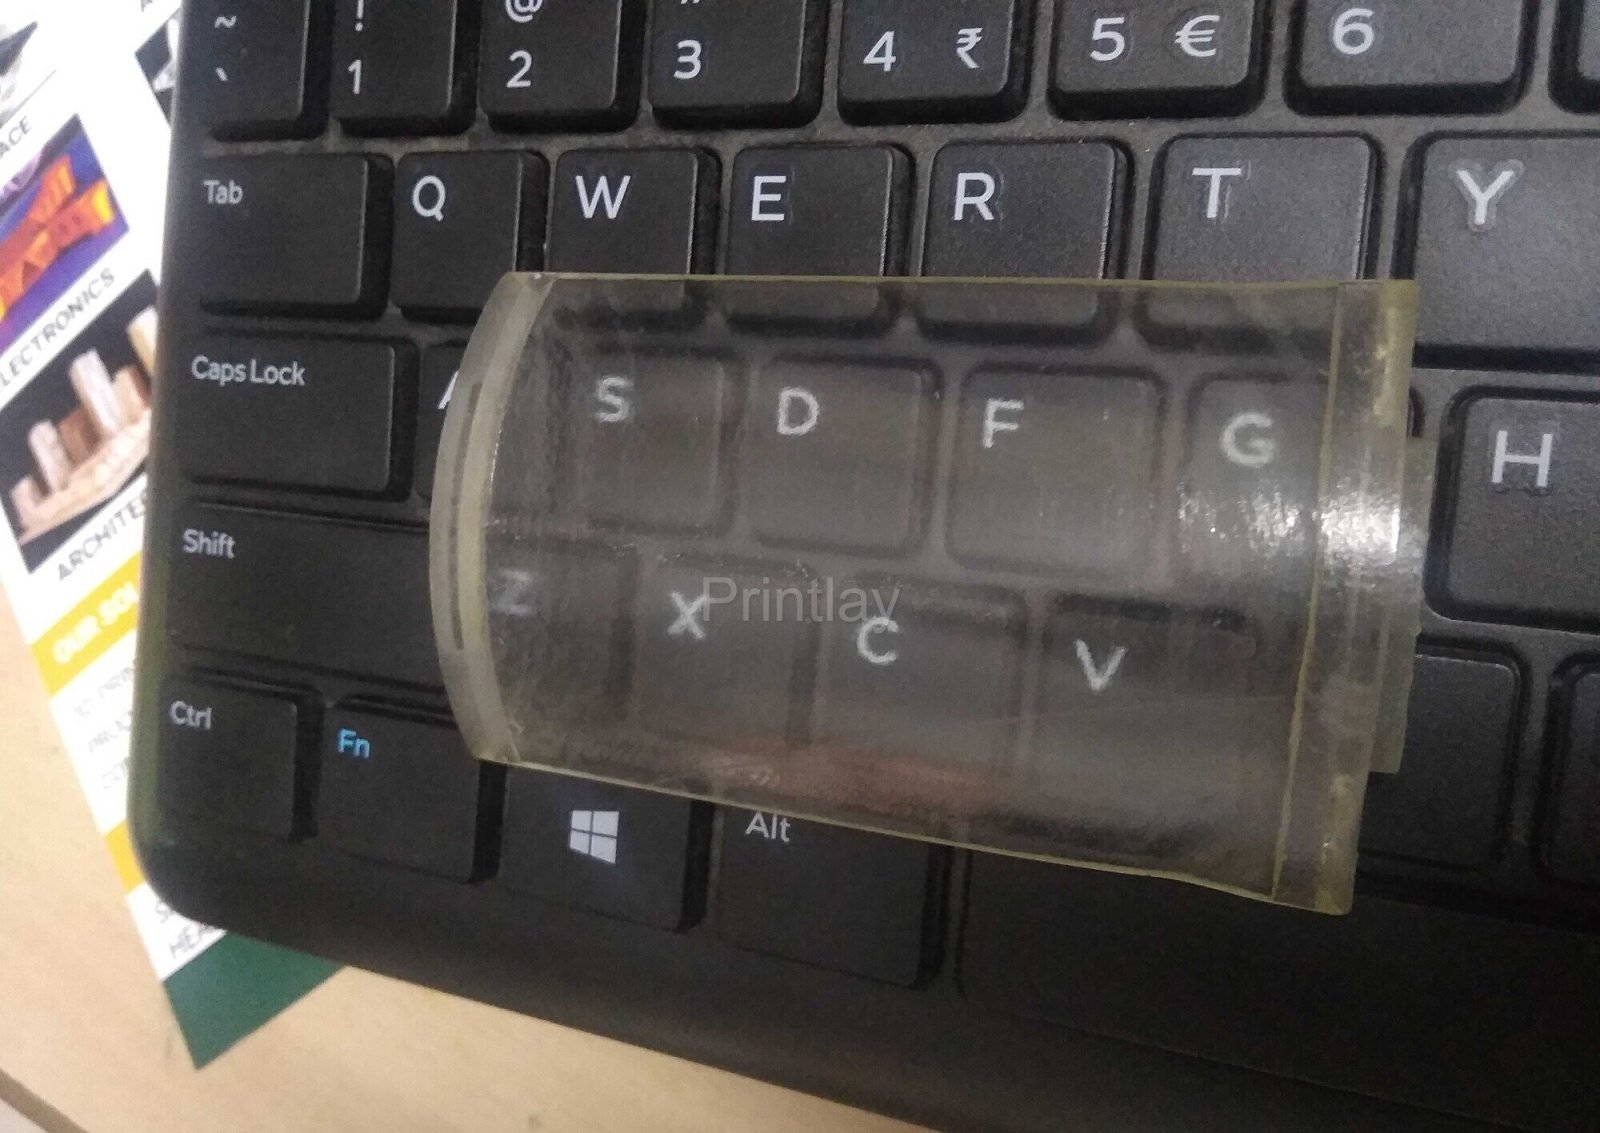
Sanded to fine grit then polished or lacquered to near-optical, read-through clarity.
Tinted
Any of the above dyed or printed in a translucent colour for indicators and coloured optics.
Applications
Where clear prints are used
Materials
Clear resins we run
The process
How we get to clear
SLA / DLP in clear resin, oriented to keep support marks off optical faces.
Wash & cure
Solvent wash to remove uncured resin, then a full UV post-cure for strength and stability.
Wet sanding
Progressive grits from ~400 up to 3000 to remove layer lines and haze.
Polish or coat
Machine polish, or a dip / spray clear coat that fills micro-scratches for read-through clarity.
Tint
Optional dye bath or tinted resin for a translucent colour.
Design guidance
Designing for clear parts
- Keep wall sections uniform — thick solid blocks look yellow and hazy.
- Hollow large volumes and leave a drain hole for uncured resin.
- Flag the optical faces so we orient supports away from them.
- Add generous radii — sharp edges chip during polishing.
- For mating optical parts, allow clearance for a clear-coat build-up.
Need many?
Clear parts in volume
For a batch of clear parts, we cast them in clear polyurethane from a silicone mould taken off a printed master — consistent clarity across 10–100 parts without polishing each one.
FAQ
Common questions
Is a transparent 3D print as clear as glass?
With full sanding and polishing or a clear coat, parts reach near-optical clarity — clear enough to read text through and to pipe light. As-printed they are translucent and frosted; the finishing steps are what create the clarity.
Can you tint the parts a colour?
Yes. We use tinted resins or dye clear parts to a translucent colour — useful for indicators, light guides and coloured lenses.
Do clear 3D prints yellow over time?
Standard clear resins can yellow slightly with prolonged UV exposure. A UV-stable clear coat and keeping parts out of direct sunlight greatly slows this; we can advise on the best resin for your use.
Can you print internal channels and closed cavities?
Yes — internal fluidic channels, closed light guides and hollow forms that cannot be machined are a key advantage of clear 3D printing. Channels need a drain path for uncured resin.
How big can a clear part be?
Up to roughly 300 mm in a single piece on our machines; larger parts are printed in sections and bonded with clear adhesive.
Related services